Wi-Fi is a necessity for most people in this day and age. We rely on it to keep us connected with the world, whether we're at home or out and about. If you're like most people, you probably don't know how to set up your Wi-Fi router. Don't worry - we're here to help! In this blog post, we will walk you through the process of setting up your router step by step.
A Wi-Fi router is a device that allows you to connect to the internet wirelessly. It creates a network for your devices to connect to, and it also acts as a DHCP server, meaning it assigns IP addresses to devices that connect to the network.
There are a few things you will need before you can set up your Wi-Fi router: an Ethernet cable, an active internet connection, and a computer or mobile device with Wi-Fi enabled.

If you're using a desktop computer, you will need an Ethernet cable to connect your computer to the router. If you're using a laptop, you can use the built-in Wi-Fi card or adapter to connect wirelessly. And if you're using a mobile device, you can connect to the Wi-Fi network created by the router.
Once you have all of those things, it's time to set up your Wi-Fi router. First, find an open spot in your house where you would like to place the router. Once you've chosen a spot, unplug your modem from the wall and plug the modem into the WAN port on the back of your Wi-Fi router.
Next, take the Ethernet cable that came with your router and plug it into one of the LAN ports on the back of the router. Then use another Ethernet cable to connect your computer or other devices to one of the remaining LAN ports on the router.
Now it's time to turn on your Wi-Fi router. Find the power button on the back of the router and press it in. Once the router turns on, you should see a light blinking on the front of the router. This is called the "Wi-Fi indicator."
If you're using a smartphone or other mobile device, open up your browser and type in 192.168.0.254 into the address bar to access your Wi-Fi router's settings page. If you're using a computer, you can find the IP address for your Wi-Fi router by going to Start > Run (or search) and typing "cmd" into the text box. A command prompt window will pop up; type "ipconfig" and hit enter.
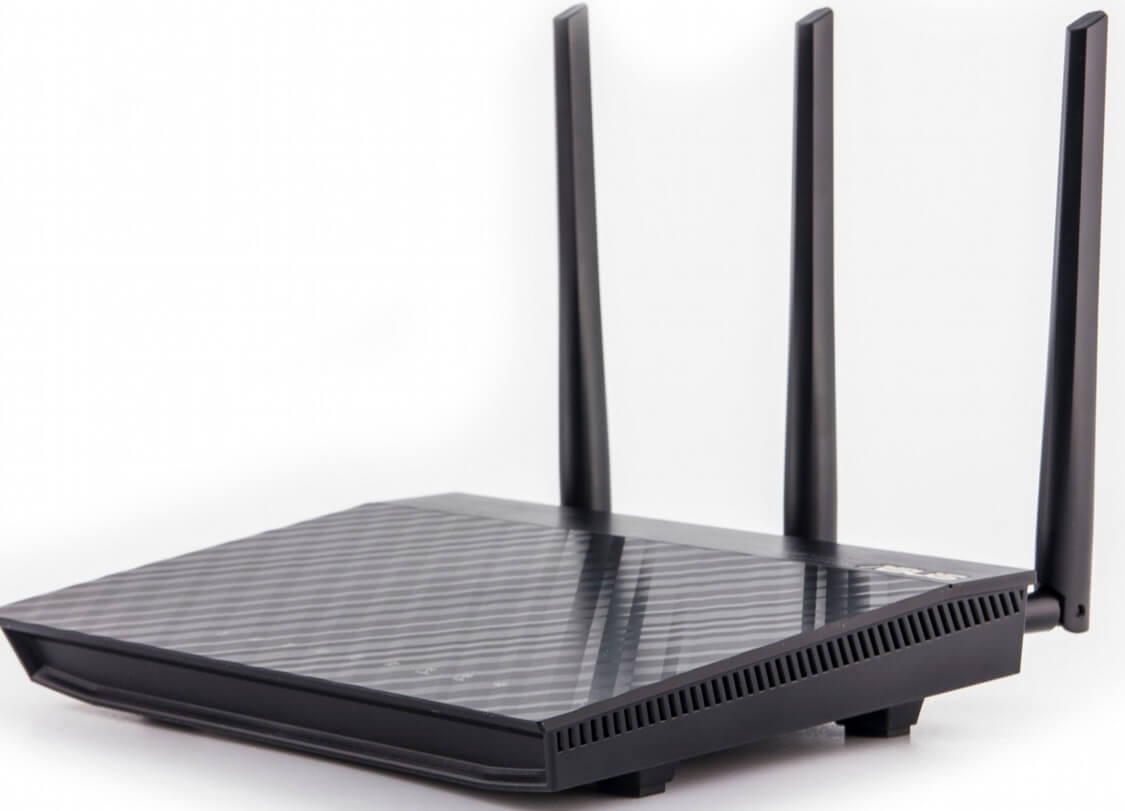
Wi-Fi routers use antennas to broadcast a signal in all directions.
Devices that connect to the router can then receive this signal and access the internet.
Most Wi-Fi routers come with at least two antennas, but some high-end models have up to six antennas.
Once everything is plugged in, turn on your modem and wait for it to start blinking. Once it's blinked three times, turn on your Wi-Fi router by flipping the switch on the back of the unit from off to on. You'll know your Wi-Fi is working when all of the lights on the front of the router are turned on.
Now it's time to set up your password.
If you want to use a stronger security protocol, such as WPA or WPA², you'll need to enter your router's configuration page and look for the section that deals with wireless security. There you'll find fields where you can type in your new passwords.
Once you've typed in your passwords, click on the "Apply" or "Save" button and then close the window. Your Wi-Fi network should now be password-protected.
If you're using an 802.11i-certified router, we recommend using its built-in Wi-Fi Protected Access II (WPA²) security protocol. To set up WPA², open your router's configuration page.
Make sure both channels are enabled for best performance.